Connect components to the MCU
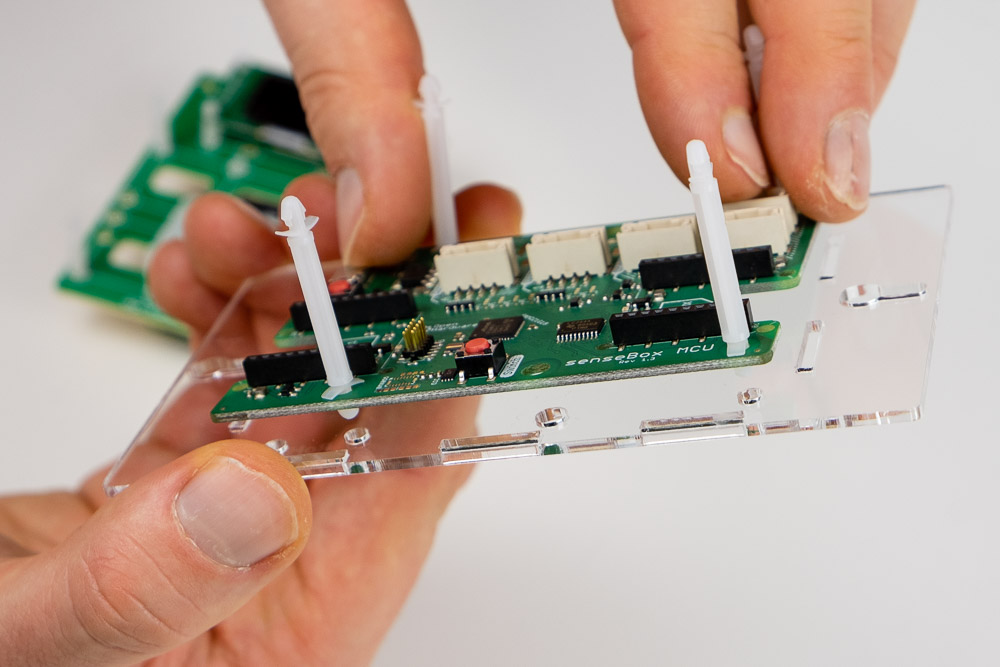
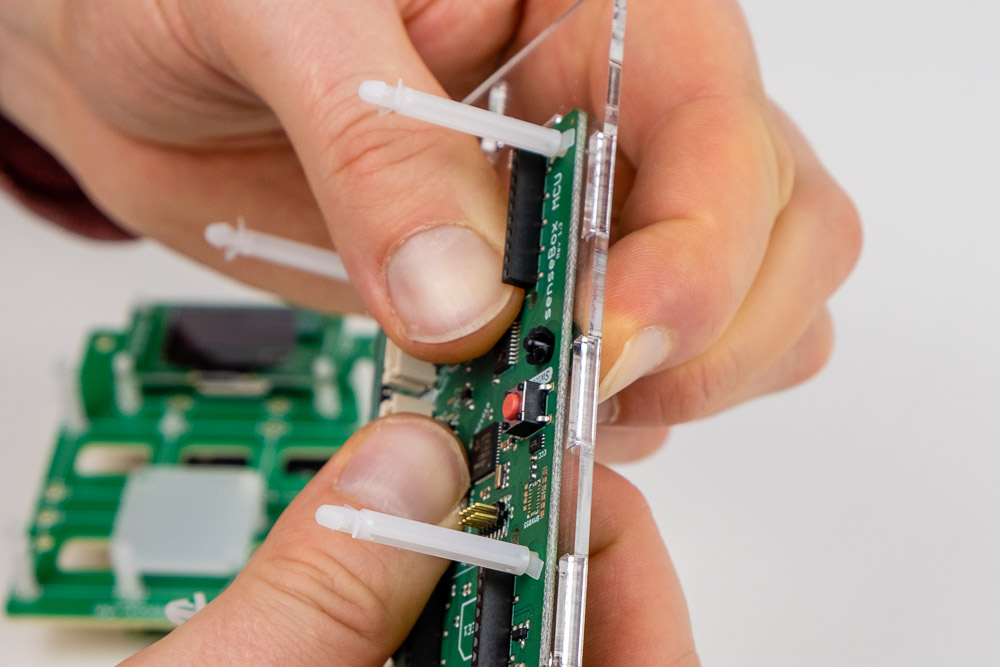
Insert the four long spacers into the corner holes of the senseBox MCU:

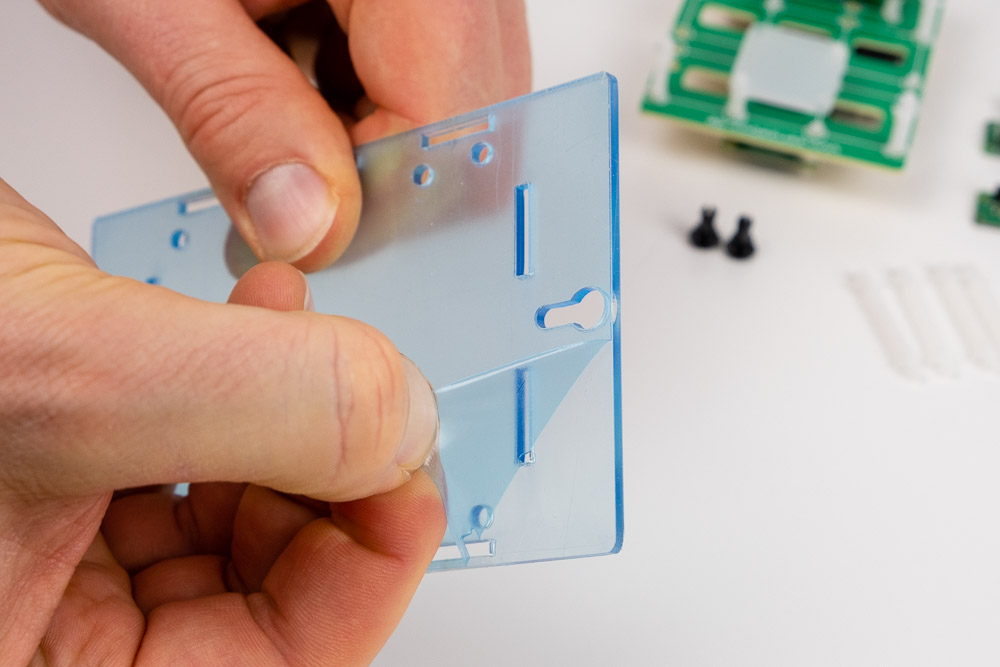
Before attaching the board to the bottom of the case, first remove the protective film from both sides of the large plexiglass plate:
Now place the MCU on the plate so that the corners fit into the four drilled holes and the board does not cover the elongated cutouts of the case bottom:
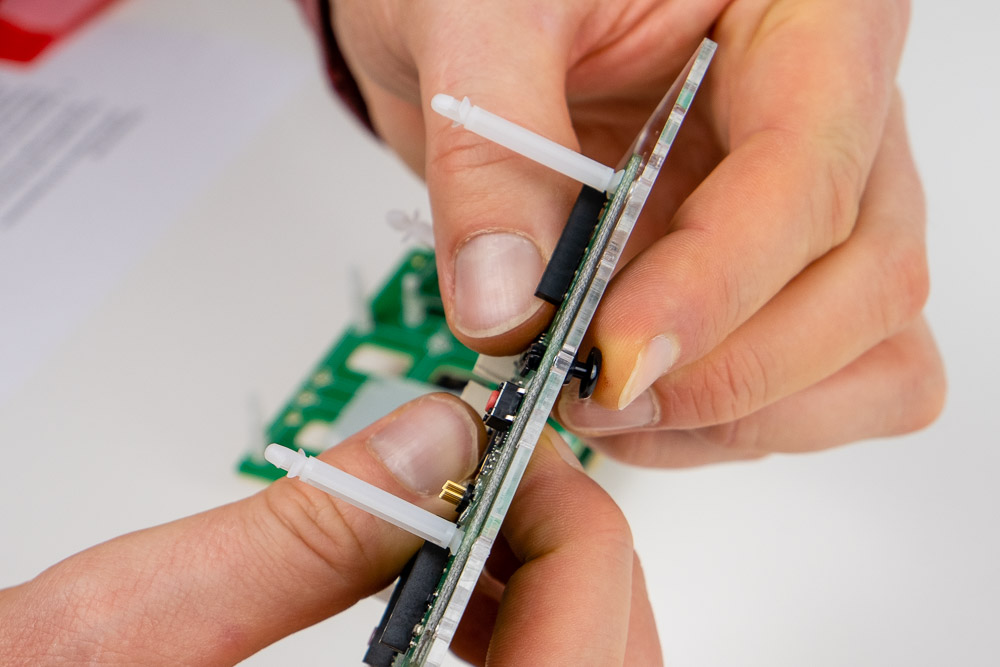
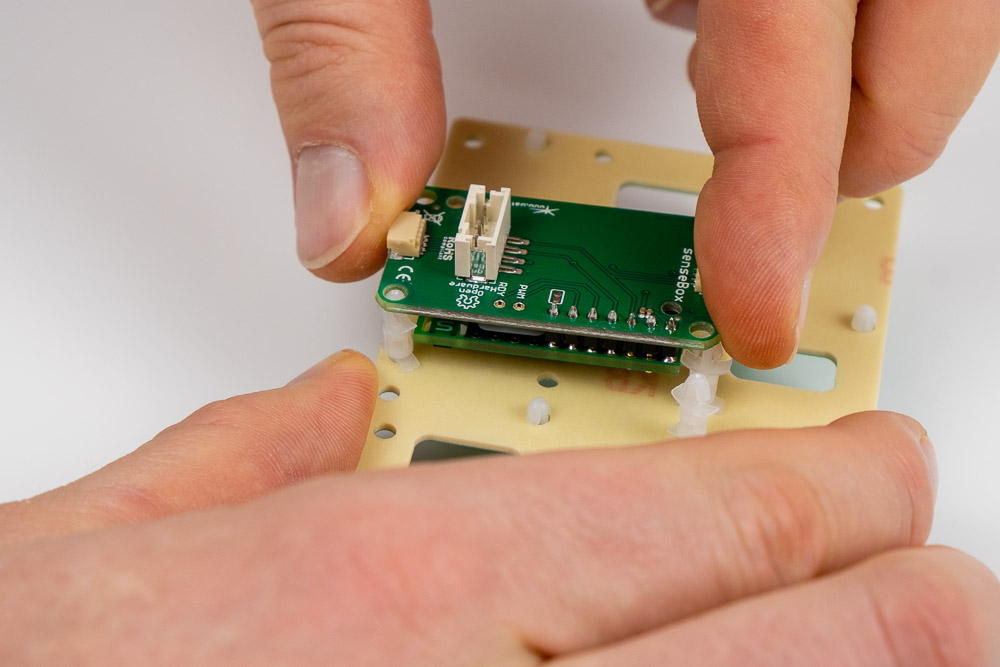
Use the black plastic clips to secure it. Insert them from below through the plexiglass plate and then through the board. Press them firmly until they snap into place:
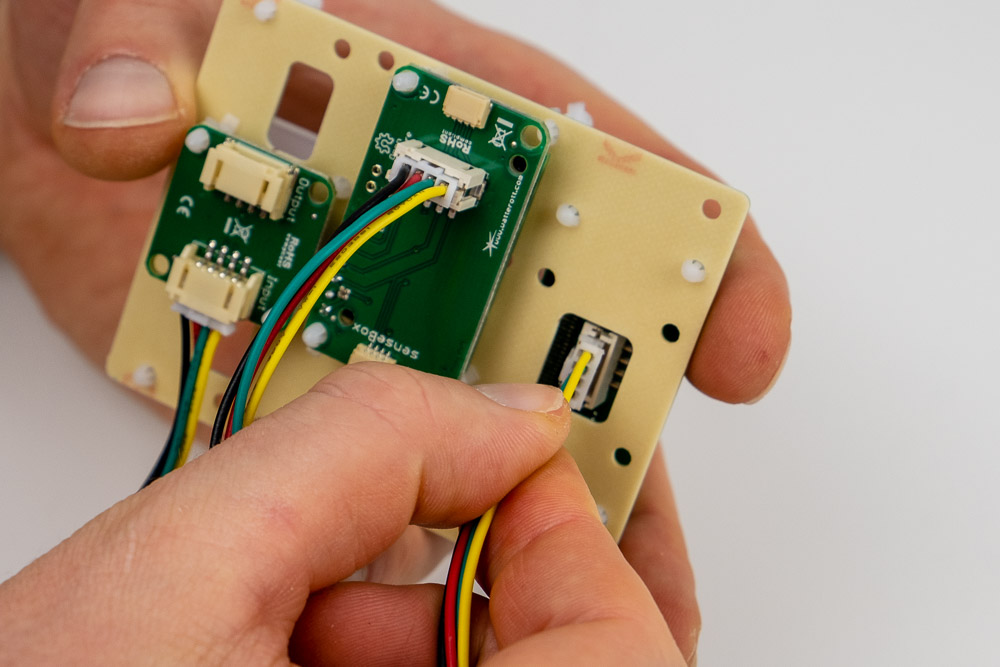
Now insert a connection cable for the RGB LED into one of the digital ports and two connection cables for the display and CO2 sensor into one of the three I2C slots:
Now you can connect the cables to the CO2 sensor, the display, and the RGB LED. Make sure that the RGB LED is connected to the digital port, and the display and CO2 sensor are each connected to one of the I2C ports:
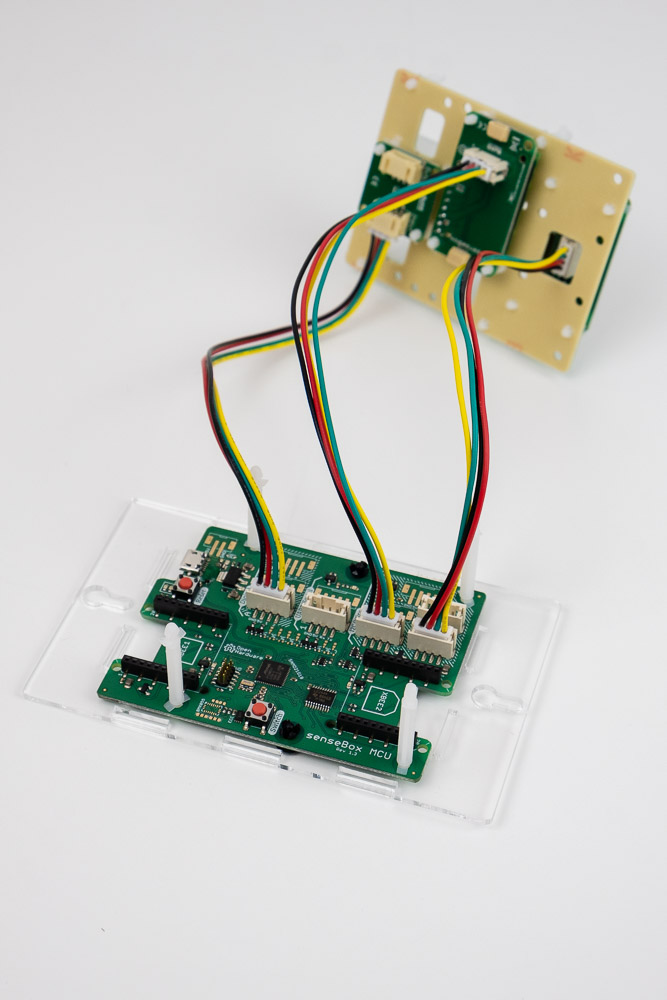
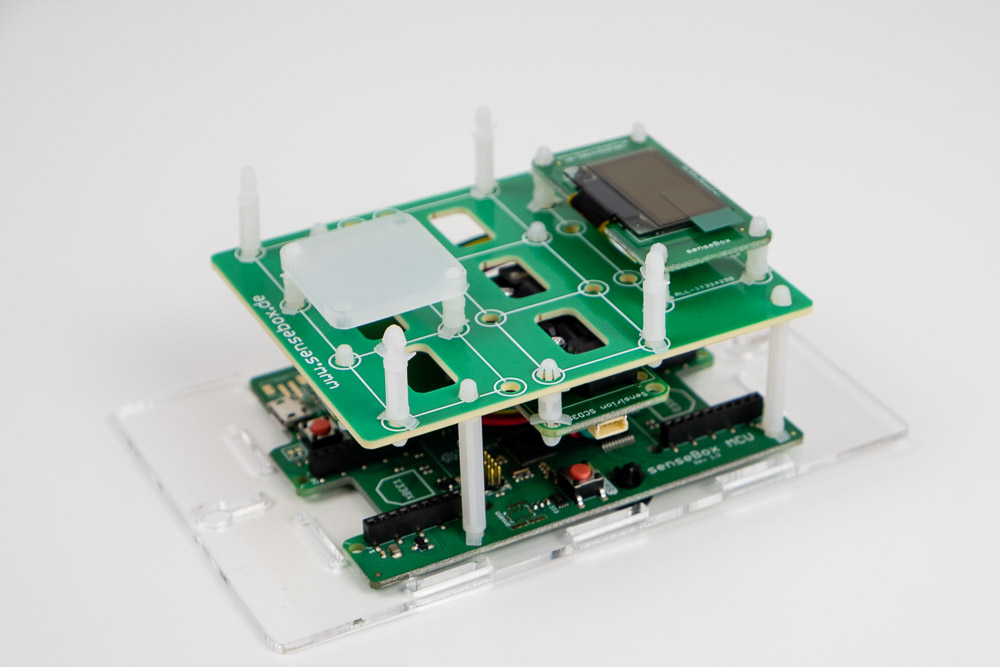
Now you can connect the sensor holder to the MCU using the long spacers. Make sure that the holder is not attached the wrong way around and is exactly parallel to the MCU: