WiFi-Modul
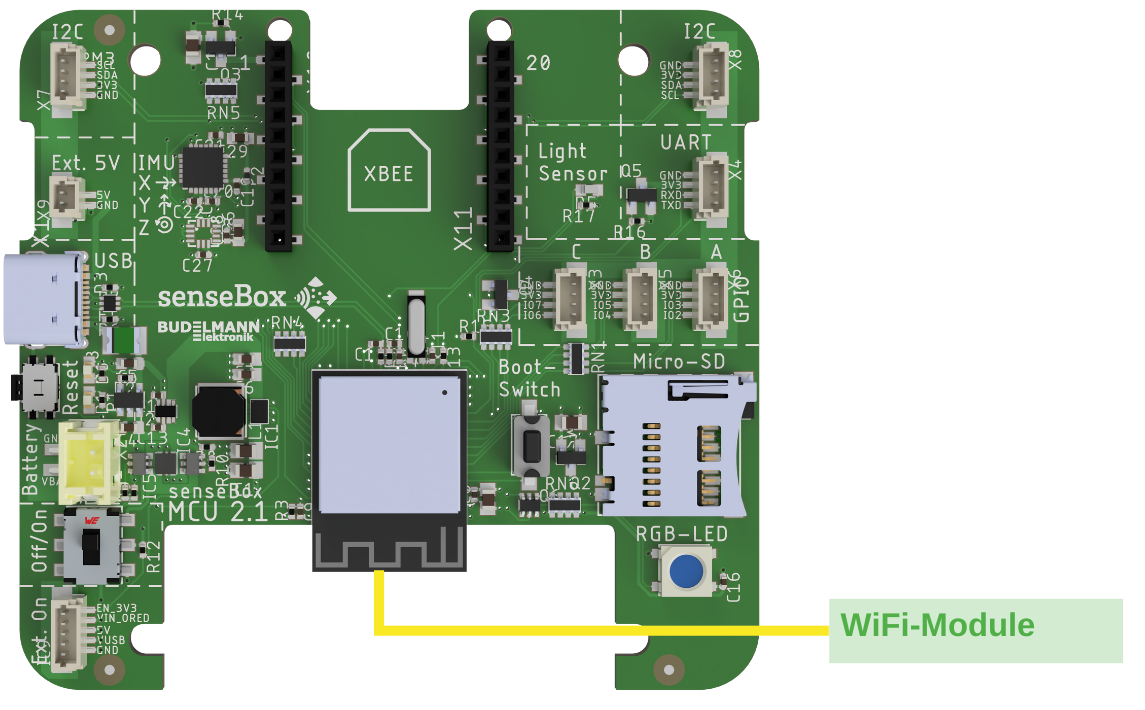
The WiFi module is mounted directly in the center of the board.
With the WiFi module, you can connect your senseBox to the internet. Additionally, you have the options to create your own WiFi network with the WiFi module or connect to an existing network.
The WiFi module is built into the MCU S2! So you don't need to connect anything else here.
General
In Blockly, you have various options to implement projects that work with the internet. For all of them, you must first connect your senseBox to the internet.
Programming (Arduino)
This sketch connects to your home WiFi and gives you the IP address of your senseBox. Remember to enter your network name and password in the ssid and pass variables.
#include <WiFi.h>

char ssid[] = "SSID";
char pass[] = "Password";

void setup() {
    Serial.begin(9600);
    WiFi.begin(ssid, pass);
    if(WiFi.status() != WL_NO_SHIELD){
      while(true);
    }
}

void loop(){
    Serial.println(WiFi.localIP());
    delay(1000);
}
Programming (Blockly)
With the Connect to WiFi block, you can connect your senseBox to a WiFi network in the Setup(). Enter the network name under SSID and the WiFi password under Password.

With the Initialize WiFi Access Point block, your senseBox can create a WiFi network that you can join with other devices. In the SSID text field, you can set the name of your network.
