OLED Display
With the senseBox OLED display, you can display measurements, status messages, and much more on 128x64 pixels.
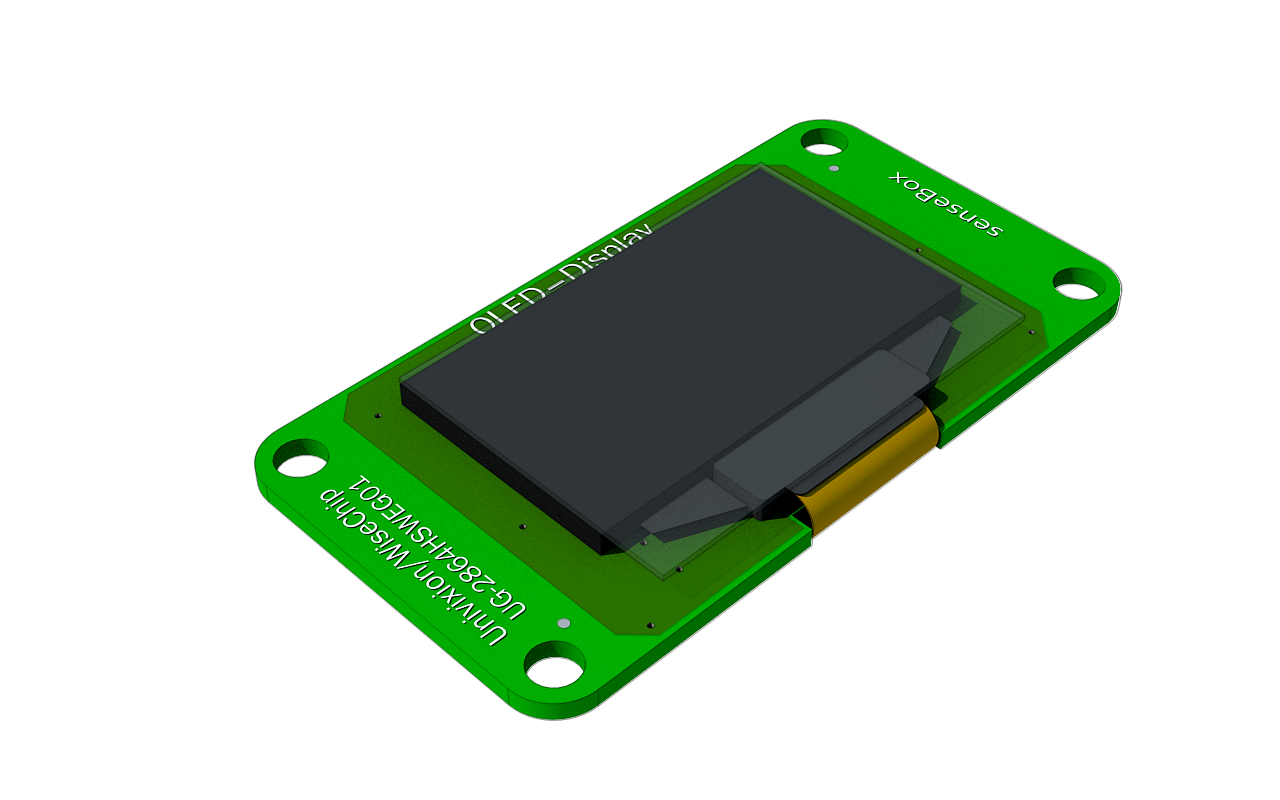
OLED Display
Technical Information
- "Plug-in-and-Go" senseBox compatible through breakout board with JST connector
- Dimensions: 24mm x 25mm x 19mm
- Resolution of 128x64 pixels
- Panel size: 26.70x19.26x1.45 (mm)
Connection
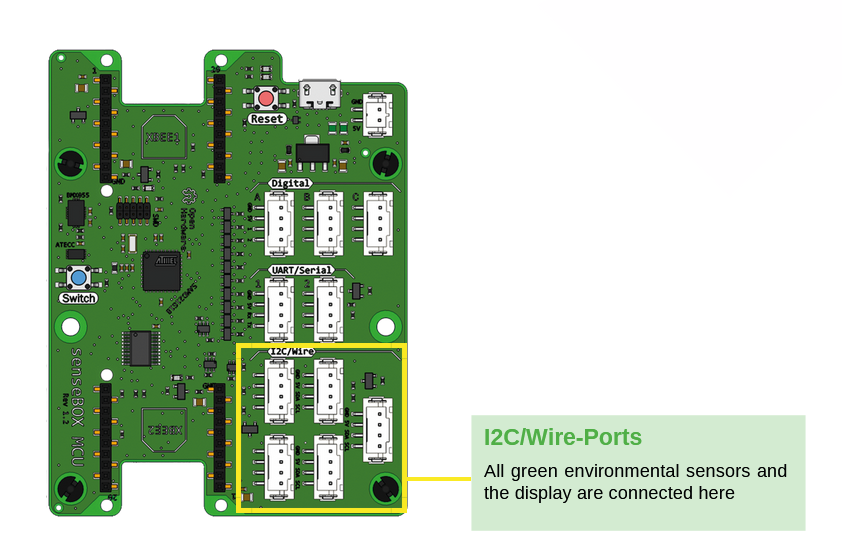
The component is connected to the I2C port.
Programming (Arduino)
Software Library
To program the sensor in Arduino, you need to install the software libraries Adafruit GFX Library and Adafruit SSD1306.
Code
This sketch displays "Hello World!" on the display.
#include <SPI.h>
#include <Wire.h>
#include <Adafruit_GFX.h> // http://librarymanager/All#Adafruit_GFX_Library
#include <Adafruit_SSD1306.h> // http://librarymanager/All#Adafruit_SSD1306


#define SCREEN_WIDTH 128
#define SCREEN_HEIGHT 64
#define OLED_RESET -1

Adafruit_SSD1306 display(SCREEN_WIDTH, SCREEN_HEIGHT, &Wire, OLED_RESET);

void setup() {
    display.begin(SSD1306_SWITCHCAPVCC, 0x3D);
    display.display();
    delay(100);
    display.clearDisplay();
}


void loop() {
    display.setCursor(0,0);
    display.setTextSize(1);
    display.setTextColor(WHITE,BLACK);
    display.println("Hallo Welt!");
    display.display();
}
Programming (Blockly)
To display information on the screen, it must first be initialized in the Arduino run first.
Then, in the Arduino loop forever, the Print on Display loop and the Clear Display block can be placed.
In the free section of the Print on Display block, it can then be specified what exactly should be displayed.
The Clear Display block must be added so that different information is not written on top of each other.

Display Text/Number
To display text or a number, drag the Display Text/Number block into the free section of the Print on Display block.

The Write Text/Number block has five settings:
- Font color: Here you can choose whether you want to write with white text on a black background or with black text on a white background.
- Font size: Here you can set the size of your text or number. In font size 1, a character is 8 pixels high, in font size 2, it is already 16 pixels.
- x-coordinate: Here you set the x-coordinate (see figure above) where you want to start writing.
- y-coordinate: Here you set the y-coordinate (see figure above) where you want to start writing.
- Value: The respective text, number, or measured value can be attached to this free block section.
